CMakeLists
The CMake structure I will follow requires a CMakeLists.txt basically in every folder. On Linux, you can copy/paste the following command line parameters from the repository root folder, assuming the folder structure already exists:
touch CMakeLists.txt
cp CMakeLists.txt MyApp/
cp CMakeLists.txt MyApp/include/
cp CMakeLists.txt MyApp/sources/
cp CMakeLists.txt MyHeaderOnlyLib/
cp CMakeLists.txt MyHeaderOnlyLib/include/
cp CMakeLists.txt MyStaticLib/
cp CMakeLists.txt MyStaticLib/include/
cp CMakeLists.txt MyStaticLib/sources/
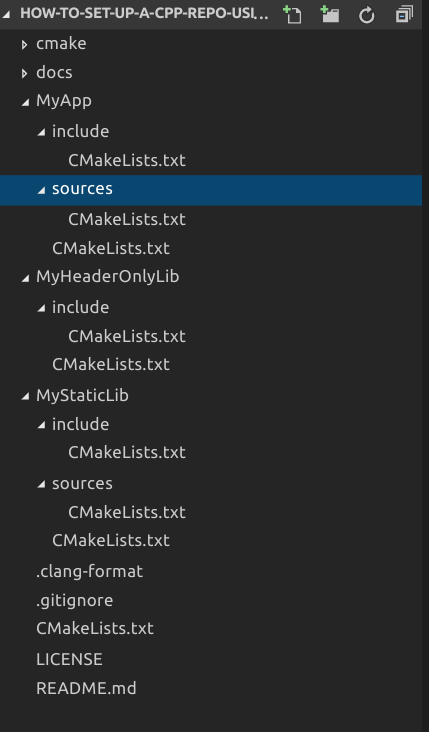
This is how it looks in Visual Studio Code:
Now, that's a lot of CMakeLists.txt files! Rest assured, the most significant part of scripting will take place in the project folder CMakeLists.txt files. It isn't as bad as it seems :-)
So here we go
/CMakeLists.txt
The one at the workspace root. Let's start with that one.
Let's start with specifying the minimum required CMake version we require to build the project. Although a simple rule, it gives some food for thought. You have to question yourself if you are using commands available in later releases, but what I also found is some modules and macros are also only delivered in the later releases of CMake. While you could depend on the latest version for these, or just copy those required files into the cmake folder of this repository. As always with versions, the lower you can support, the bigger your target audience. Every file will start with this line, so I will stop iterating it in all following chapters.
cmake_minimum_required( VERSION 3.1.3 )
We were talking about modules earlier on. If you require an existing public library, chances are other people already wrote logic to find the include paths and library files to include in your project. If they are popular enough, they even make it into the CMake release repository! It saves you a ton of scripting by using these modules, so it is worth the effort to look into them. Sometimes the modules haven't made it in the CMake releases yet, and then you could still reuse the modules other people created by downloading them in the cmake folder in our repository. If the modules are specific to one project, you might want to create separate cmake folders in each project subfolder. Then it's a matter of including those paths to the module patch aswell.
For this simple use-case, we will only use a cmake module folder at the highest level and then it suffices to define this statement in the root file. The beauty of it all is that child CMakeLists.txt files can freely reuse the same variable. So here we append the cmake folder in our source directory of the repository (where CMake is executed: CMAKE_CURRENT_SOURCE_DIR) to the CMAKE_MODULE_PATH variable:
# Tell CMake we will be using are cmake subdirectory aswell for loading modules
set( CMAKE_MODULE_PATH ${CMAKE_MODULE_PATH} ${CMAKE_CURRENT_SOURCE_DIR}/cmake )
We already want to determine the correct platform we are working on. This is also reusable logic so the child files can easily provide their specific platform settings. This should be fairly easy to understand. To determine Linux, we need to exclude Apple first and make sure we are in a Unix-like environment. The system name should then match ".*Linux". Should we miss the boat on this one, an else clause will interrupt processing with an "Unsupported System" notification.
As a last step we translate WIN32 to WINDOWS, since WIN32 also includes 64-bit, so naming is a bit off. Also here, if we still cannot determine the system we are 'kindly' informed.
# Platform definitions. We use Linux and Windows, so let's determine them before-hand
if( UNIX AND NOT APPLE )
    if( CMAKE_SYSTEM_NAME MATCHES ".*Linux" )
        set( LINUX TRUE )
    else()
        message( FATAL_ERROR "Unsupported system" )
    endif()
elseif( WIN32 )
    set( WINDOWS TRUE )
else()
    message( FATAL_ERROR "Unsupported system" )
endif()
Hint: wouldn't this be a perfect candidate for a macro or a module?
Another global thing. Linux and Windows use different debug definitions in some cases. To make sure we please everyone, this is also added for Linux. Why only for Linux? Well, on Linux we use single-configuration generators and on Windows, we use multi-configuration generators. On Linux this means we must run CMake for debug and release as separate commands. Visual Studio on Windows on the other hand, specifies targets for debug and release in the same project. So in short, for Linux in debug mode, we define DEBUG and _DEBUG as definitions:
# On Linux, make sure Debug mode actually sets the DEBUG definition.
if( LINUX )
    if( CMAKE_BUILD_TYPE STREQUAL "Debug" )
        add_definitions( -D_DEBUG=1 -DDEBUG=1 )
    endif()
endif( LINUX )
Nearly there for the first file! Let's link the next level of CMakeLists.txt files. This is done with the add_subdirectory command. Let's be clean about this and add them in the proper build order (not sure that it matters though).
# Add the nested project subdirectories. Make sure CMake can find CMakeLists.txt files there
add_subdirectory( MyStaticLib )
add_subdirectory( MyHeaderOnlyLib )
add_subdirectory( MyApp )
And there we are. That's the first file and it already prepared a lot of generic elements for us. On to the next one!
/MyHeaderOnlyLib/CMakeLists.txt
This file actually defines the header-only library project, so it's an interesting one to take a look at. As you might have guessed by now, the set command allow to set a variable to a specific value. This is also what I do here. We define the name of the library project and the version.
set( PROJECT_NAME MyHeaderOnlyLib )
set( PROJECT_VERSION_MAJOR 1 )
set( PROJECT_VERSION_MINOR 0 )
set( PROJECT_VERSION_PATCH 0 )
set( PROJECT_VERSION ${PROJECT_VERSION_MAJOR}.${PROJECT_VERSION_MINOR}.${PROJECT_VERSION_PATCH} )
I define the library as a project. The parameters in order: name of the project, the version and the language to compile in (C++ in this case)
project( ${PROJECT_NAME} VERSION ${PROJECT_VERSION} LANGUAGES CXX )
The project command only defines the project. It doesn't specify if it will be a library or an executable. To make it a library, I add the following command:
add_library( ${PROJECT_NAME} INTERFACE )
The keyword 'INTERFACE' indicates there aren't any source files attached to this library but we still want it to be defined as a library.
As a final statement, we need to make sure we add the include subdirectory, because also there, we specified a CMakeLists.txt file.
add_subdirectory( include )
/MyHeaderOnlyLib/include/CMakeLists.txt
The last file in the header-only library project are the actual header files that need to be specified. There's a lot of discussion of forums and Stack Exchange of the best way to specify files. In general people tend to use two approaches:
- Use a wildcard search and let CMake determine all the files you require. It's the lazy man's tactic and sadly not recommended
- Specify each file individually in the CMakeLists files. This has some benefits regarding caching and determination if something changed in the scripts.
CMake only updates what has changed, so for CMake in the wildcard case, nothing has changed, although maybe a file was added or removed. Specifying each file individually, lets CMake know about the changes, so it can do something with it.
I was then looking for a clean way on how to do this, and came up with 'targetsources' and 'target_include_directories'.